Recently, I got the request to enable SAML authentication for an on-premises Deep Security Manager using ADFS.
The interesting part is, that this configuration is fully supported, but the vendor’s documentation lacks a few significant points.
But let’s start at the beginning:
SAML is a popular method to authenticatte web-based consoles, since it can enforce stronger authentication levels, as “pure” Active Directory based authentication, such as MFA.
Preparing the DSM
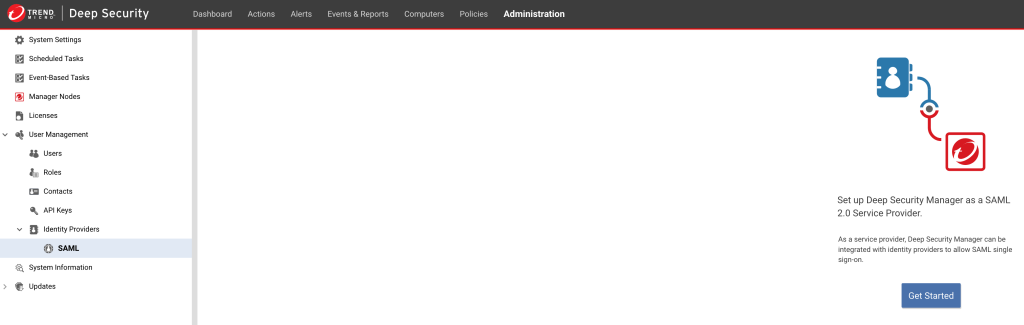
First, within the Deep Security Manager (DSM) you need to enable SAML globally.
This is done by creating a SAML Service Provider (“SP”):
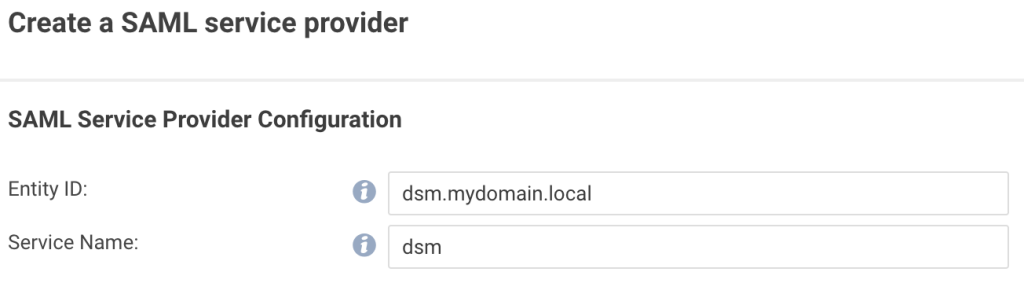
Define a name and Service Name for the SP:
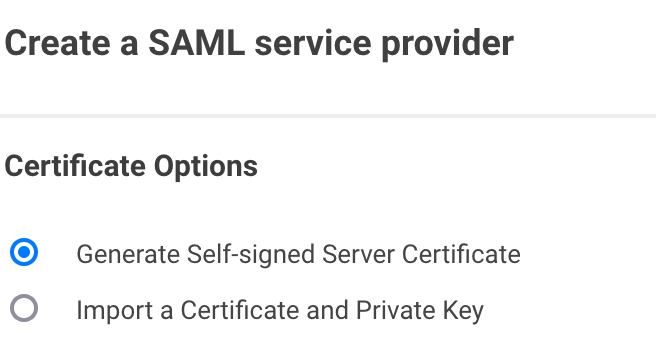
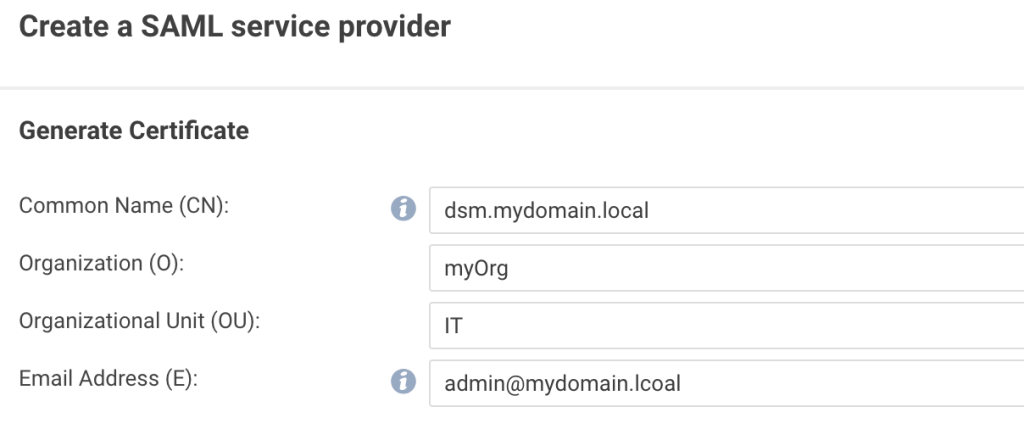
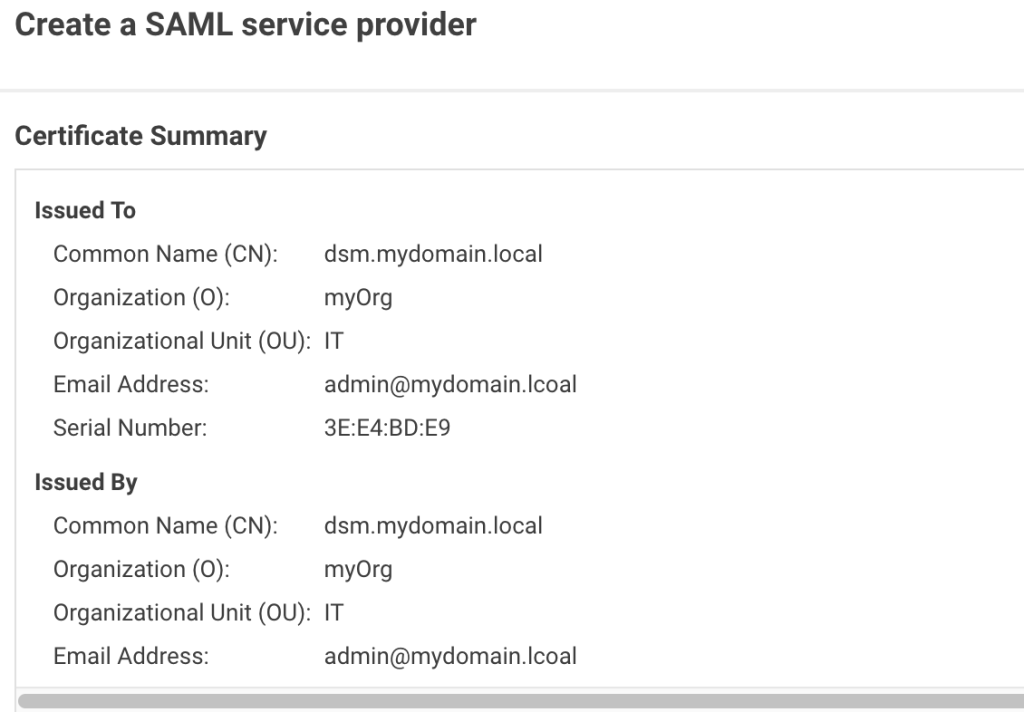
Decide, whether to create a self-signed certificate or to import one from an existing CA.
Verify the summary:
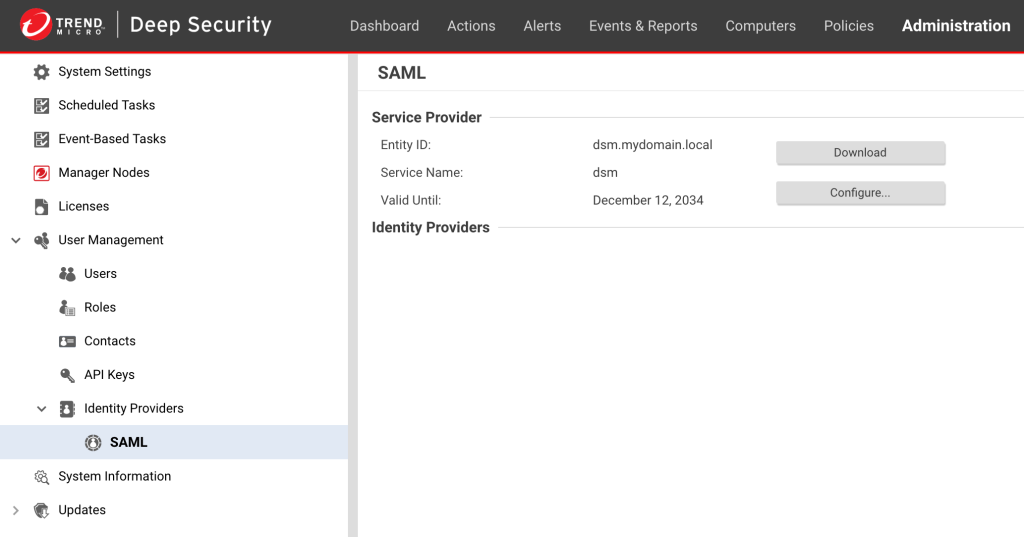
After creating the SAML SP, you’re redirected to the admin page.
Please download the SP metadata file by clicking on “Download”.
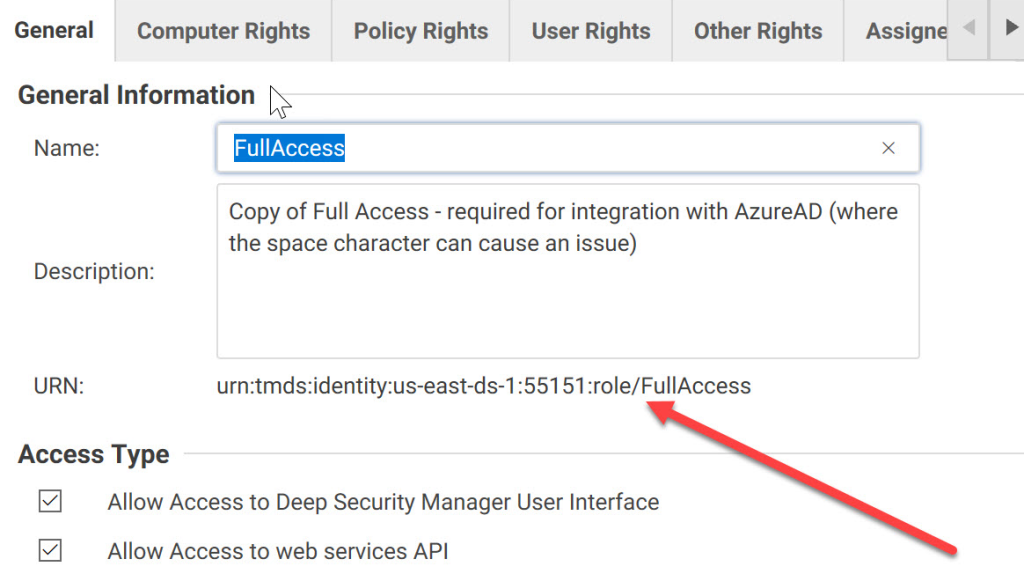
Now open the entry “Roles” on the left sife of the DSM admin page and either select one of the existing roles or create a new role that will be assigned to users logging on using ADFS.
In my examle, I use the “Full Access” role.
In the details page of the role, note the URN
Preparing ADFS
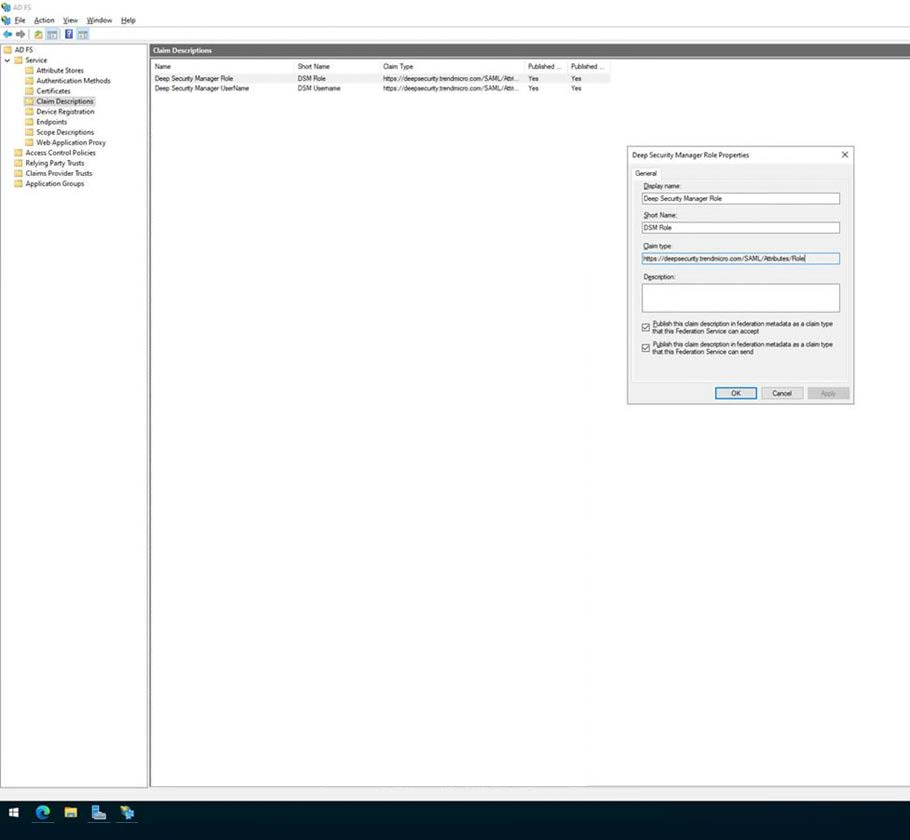
In order to configure SAML authentication with ADFS, we need to create two new claim types within ADFS: one for the user name and one for the role the user gets assigned to, when logging on to the DSM.
The “Claim Type” must be set as follows:
For the User Name: “https://deepsecurity.trendmicro.com/SAML/Attributes/RoleSessionName”
For the User Role: “https://deepsecurity.trendmicro.com/SAML/Attributes/Role”
Configuring the Authentication
In order to correctly redirect your users to the ADFS server, we need to configure the IdP on the DSM.
Therefore, we have to provide the IdP’s metadata file to the DSM. You can download it for your ADFS server on this URL:
https:// adfs_url /FederationMetadata/2007-06/FederationMetadata.xml
Afterwards, start the wizard on the SAML page of the DSM and uplad the metadata xml file, you just downloaded from ADFS:
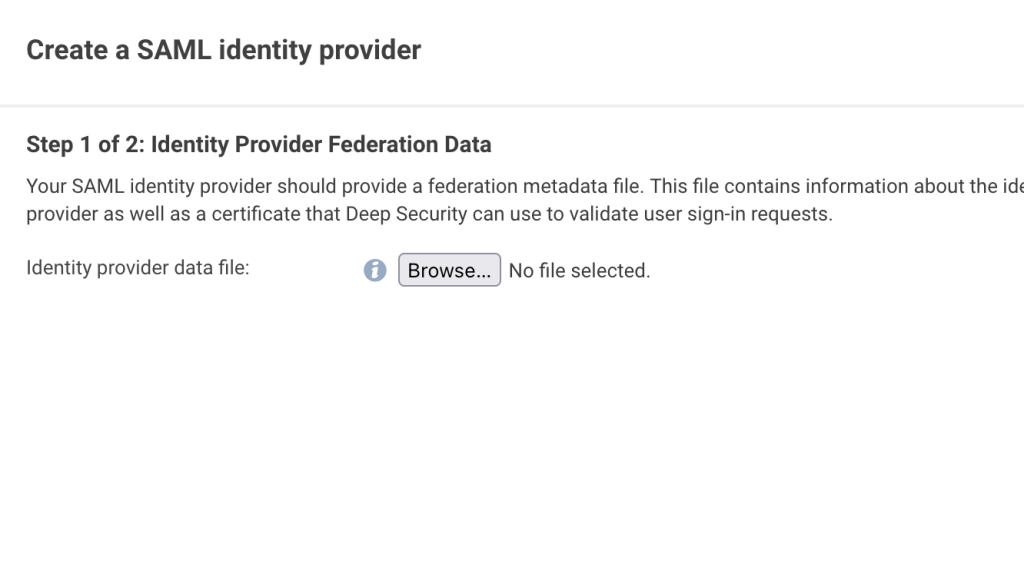
Then provide a name for the new IdP (i. e. “ADFS”) and save the config. Please take a note of the name you provided, as we will need that later.
Now, back to ADFS:
Create a new “Relying Party Trust” and import the metadata xml file, we exported from the DSM before.
Afterwards, we have to define two claim rules for the new Party Trust.
For the user name, you just select the AD attribute, you want the user to use as login (SAM-Account-Name, UPN, Email…) and select the newly created DSM Claim type for the user.
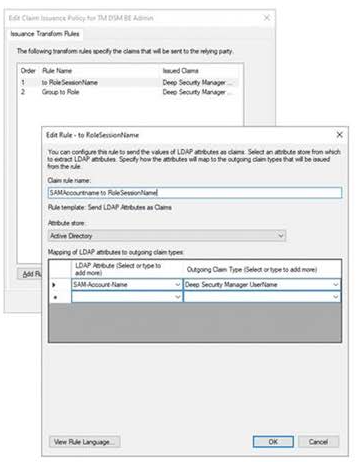
For the role, it’s a little more difficult. You’re going to define, which role within DSM will be assigned to a user based on the users group membership in Active Directory.
Within the claim rule, you select the correct group from the Active Directory and set the following value as the “outgoing claim value”:
urn:tmds:identity::0:saml-provider/ADFS,urn:tmds:identity::0:role/Full Access
(please change the values in red with your notes taken before.
Afterwards, you can login to your Deep Security Manager by opening the IdP-Login page of your ADFS installation:
https://<your adfs server or farm>/adfs/ls/idpinitiatedsignon.aspx
If the mentioned URL does not work, you’ll find troubleshooting information here:
https://learn.microsoft.com/en-us/windows-server/identity/ad-fs/troubleshooting/ad-fs-tshoot-initiatedsignon