Hello and welcome back. This is part three of my short series of posts about tuning backups.
I want to show you the performance, Backup Exec can reach.
Disclaimer:
Of course, this is neither an agreement that these performance values can be reached in every environment on the globe, nor that faster environments are not possible. It’s just a glimpse into what we do in our day-to-day business.
In the first part of this series we did some backups of test data to get a baseline of the performance Backup Exec can reach, if the environment is configured appropriately.
During the second part of the series we backed up a virtual machine hosted in a VMware environment via network.
So in this part here I want to show what increase in performance you can achieve by changing the transport mode from network to san.
The Setup
Our “test candidate” is again the virtual machine running Windows 7 including Office 2013 and is doing some background tasks that produce load and files on the machine.
It is virtualized on a VMware vSphere 6 ESXi cluster (2 nodes) that uses a HPE MSA 2040 SAS as its shared storage. It’s the same storage, we also used in part one of this series. Regarding part two of this series, nothing of this setup has changed.
Review the Job Settings
As I show in the video linked below, you should verify that the job in Backup Exec is configured to use the SAN transport mode as its first priority.
This is done in the job’s settings in the “Virtual Machines” tab under “Transport Modes”.
Preparation to Back Up via SAN
In order to back up the VM via SAN, we have to present the data volumes hosting the virtual hard disks of the VM to the backup server.
To assure that presenting the disks to the Windows server will not damage the integrity of the disks, we first disable the automount functionality on the backup server.
This is done by opening a command prompt with elevated permissions and start Diskpart.
Within Diskpart enter the two following commands:
automount disable
and
automount scrub
After both commands were committed successfully, quit diskpart and close the command window.
Present the Storage to the Backup Server
The next step is to present the storage volumes used by VMware to the backup server. This is done in the GUI or CLI of the storage and the process is depending on the specific vendor of the storage. Therefore I will not go into details here. In the video linked at the end of this post I show, how to do the LUN mapping on a HPE MSA 2040.
Hint:
Depending on your storage infrastructure, it might be necessary to install the multipathing feature of Windows on th backup server. This will allow the operating system to identify the LUNs presented via multiple paths correctly.
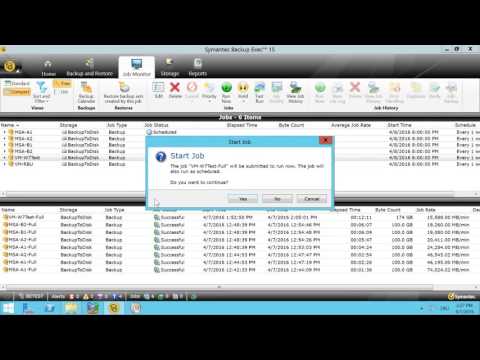
Backup via SAN
Now that the server can “see” the data volumes, you need to restart the Backup Exec services and simply run the job.
The Movie
You can watch the video recorded for this post on YouTube:
Please continue reading about this performance tests in part four of this series.